Getting Started
Welcome to EzuneDB! This guide takes you from download to your first natural-language query in a few minutes.
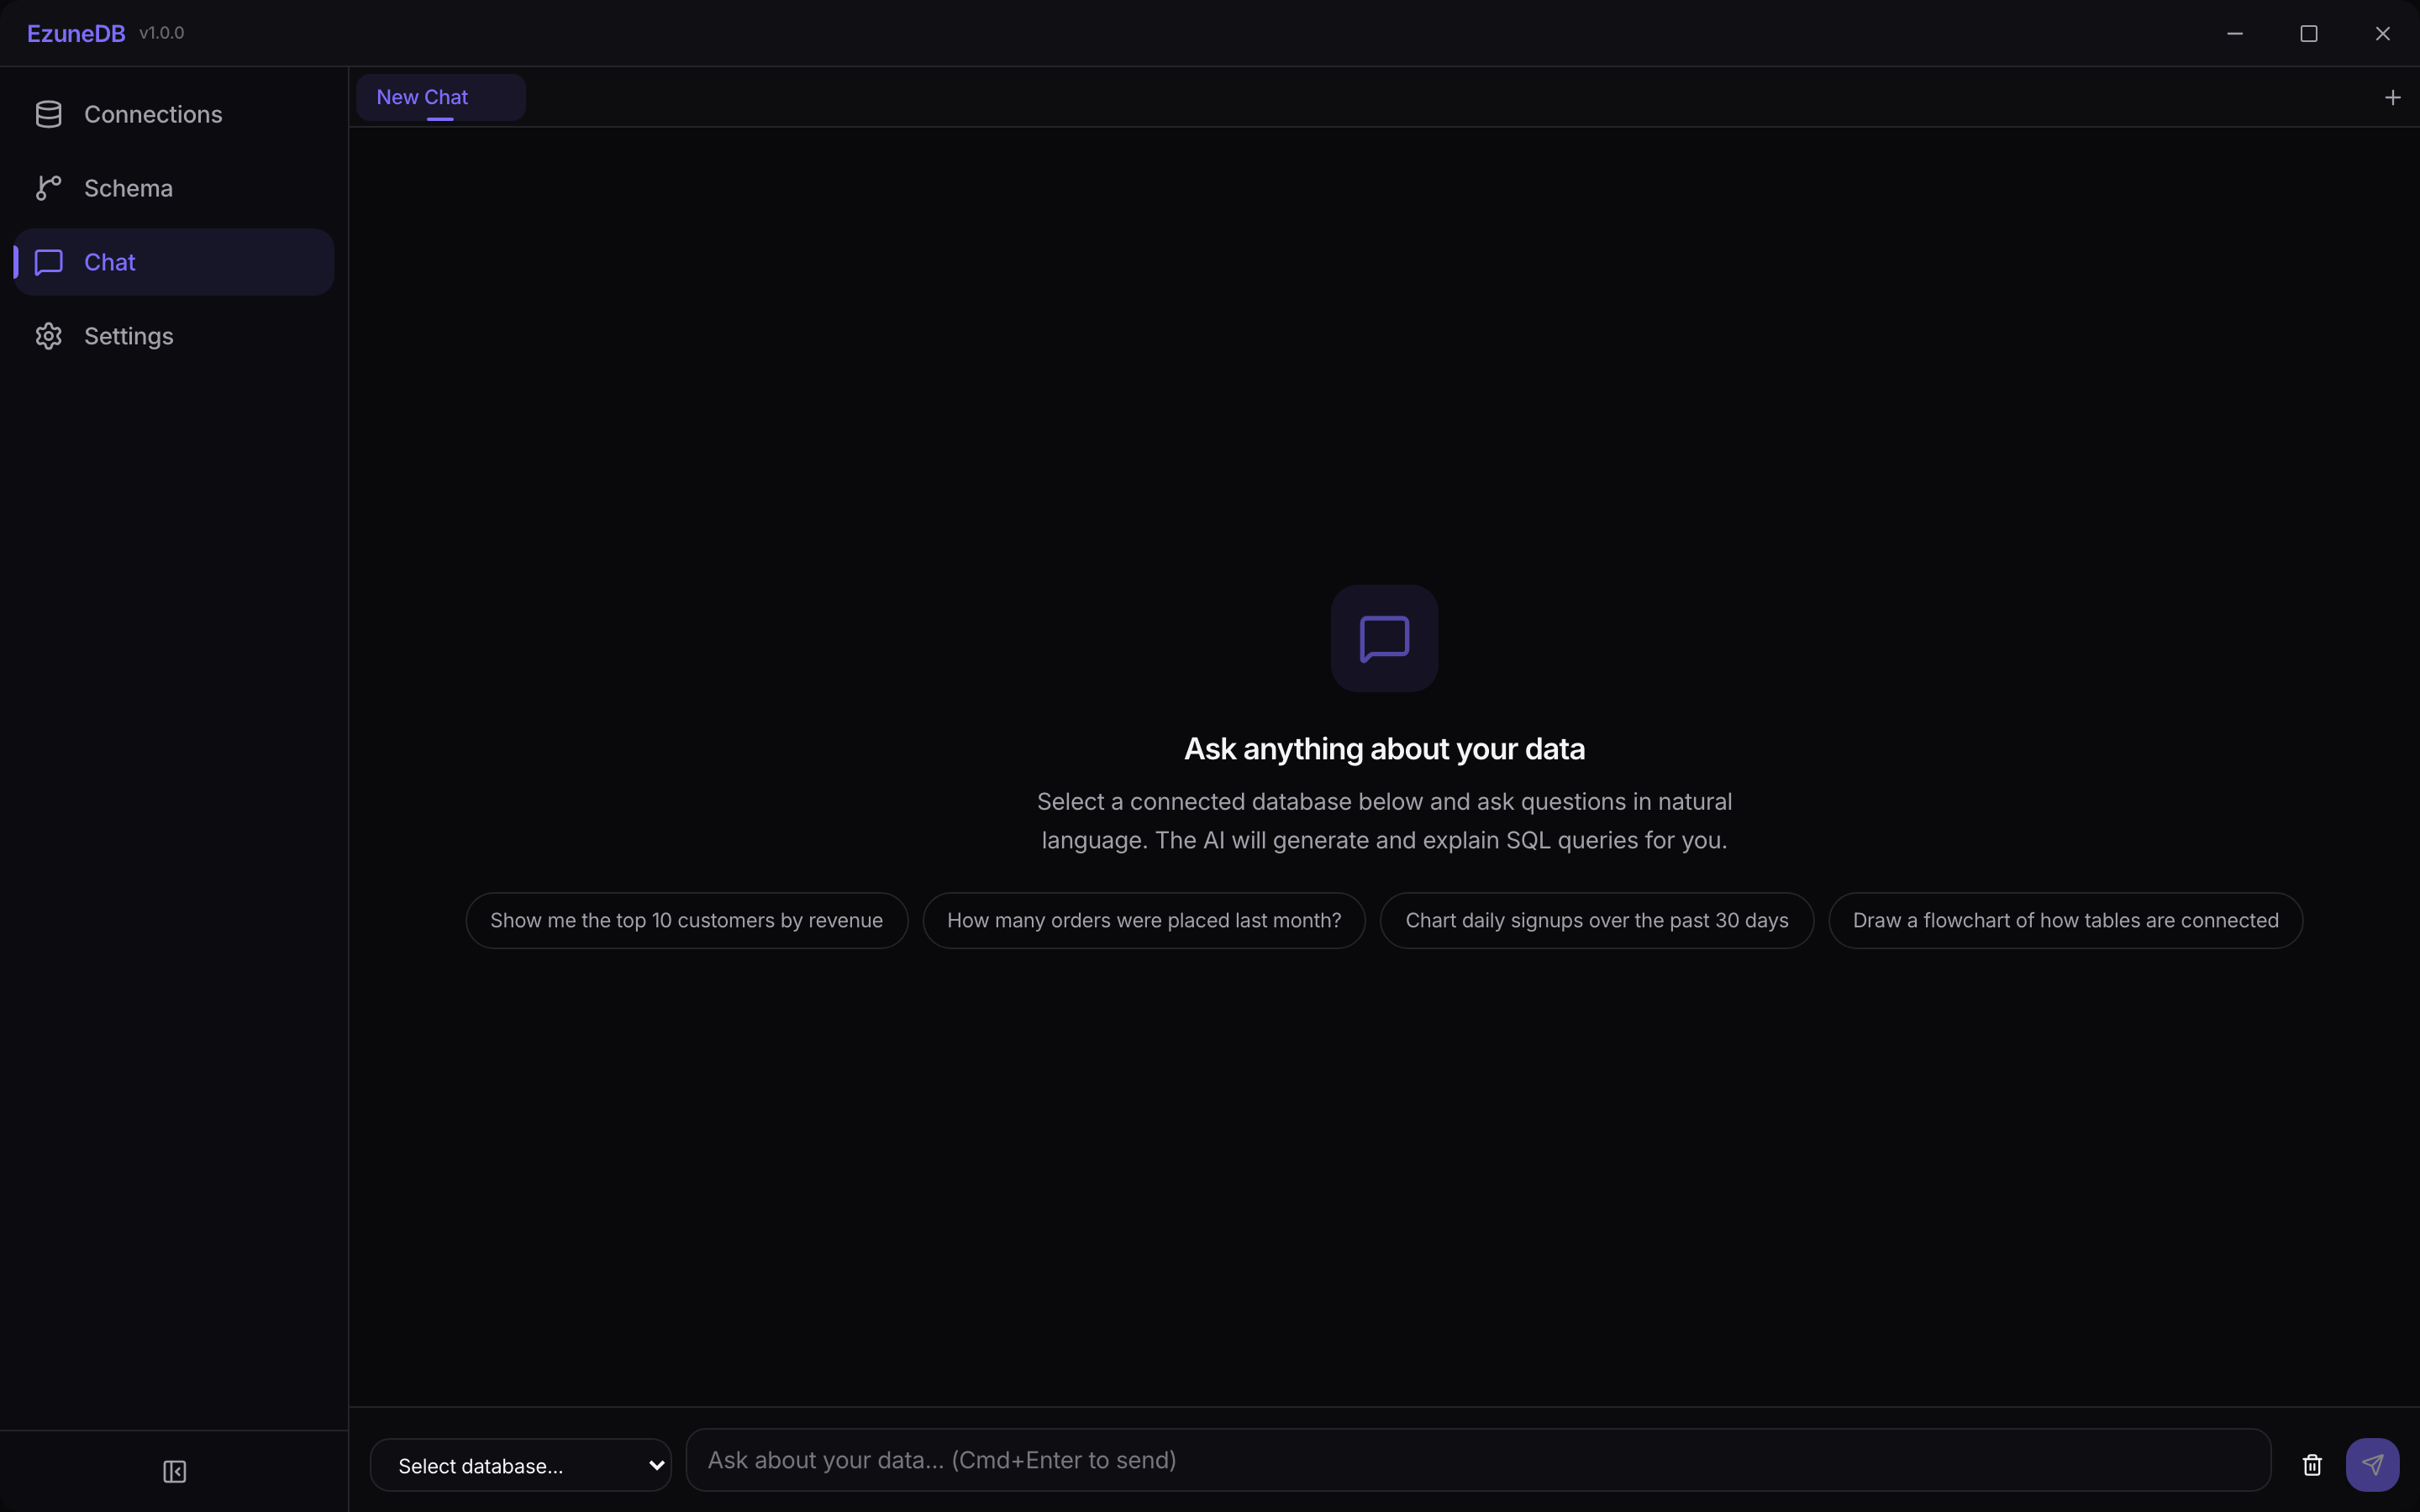
The main EzuneDB interface — clean, simple, and ready for your first question
1Install and launch
Download EzuneDB for macOS or Windows from the home page and open it. Everything runs locally on your machine — your database credentials and data never leave your environment, and updates install themselves automatically.
2First-run setup
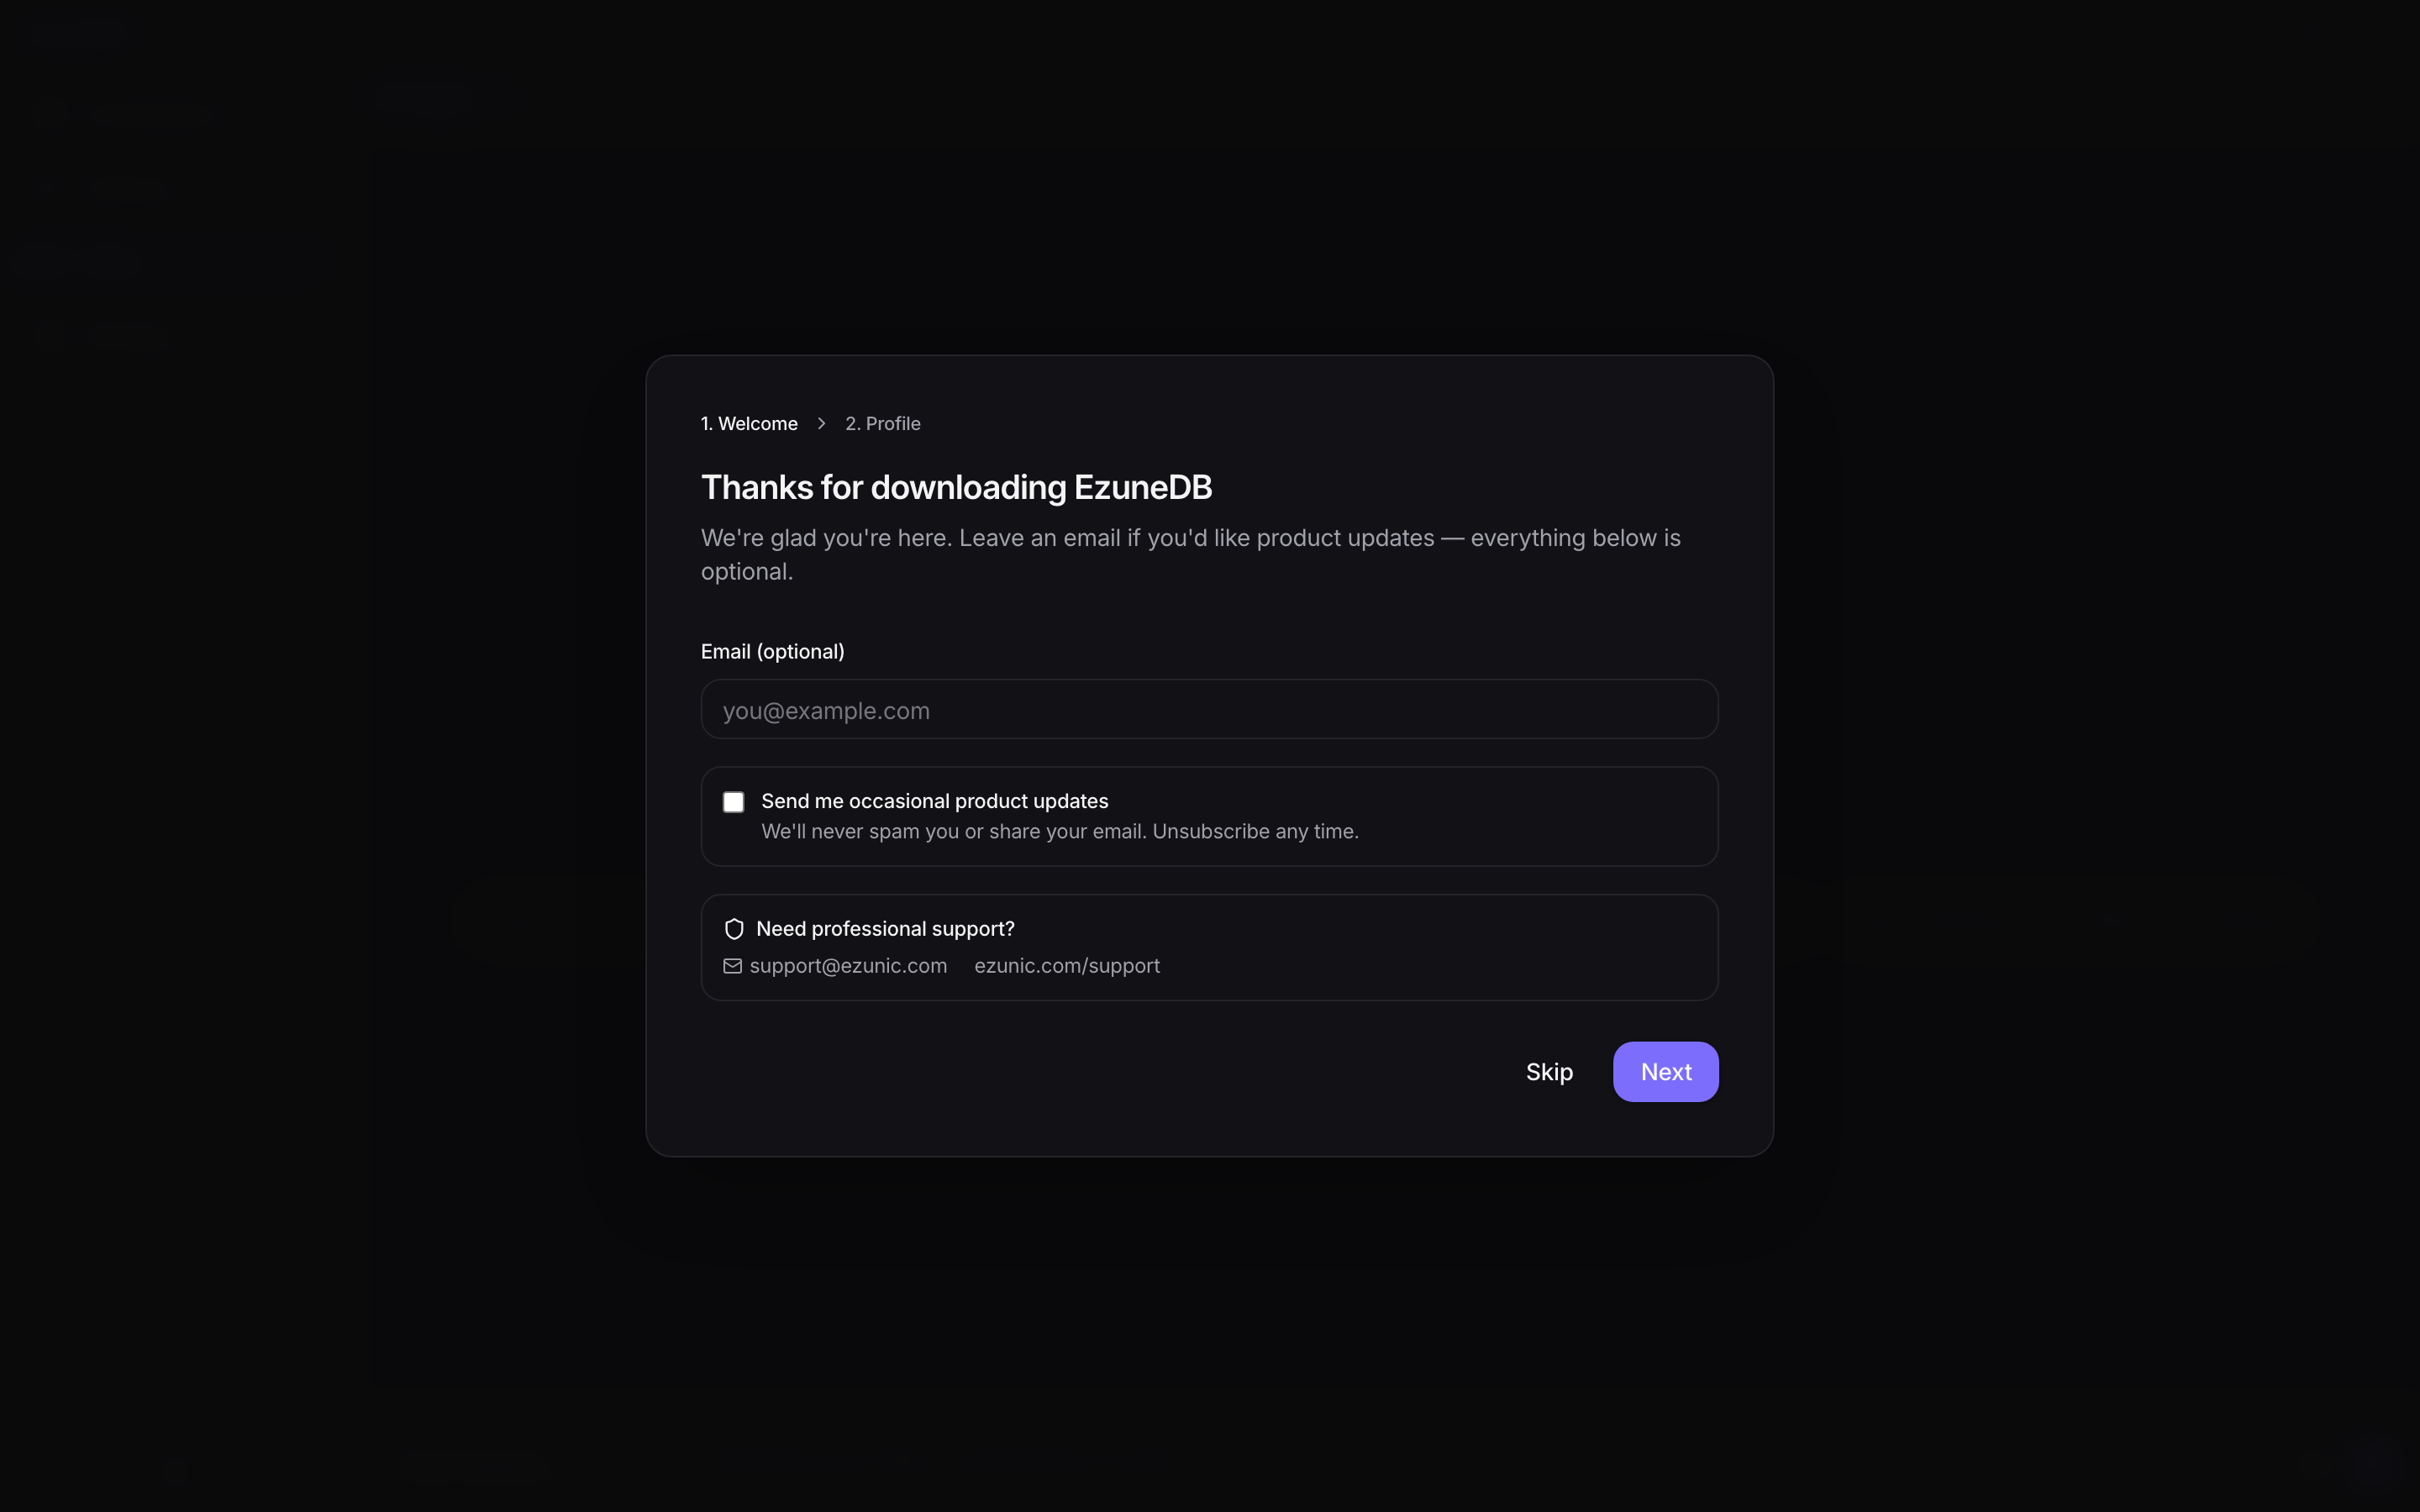
On first launch a short two-step wizard gets you set up. The welcome step is entirely optional — leave an email if you would like product updates.
Next, pick the profile that matches how you work. The profile sets your query safety policy: whether reads, writes, and schema changes run automatically, require confirmation, or are blocked. You can change all of this later in Settings.
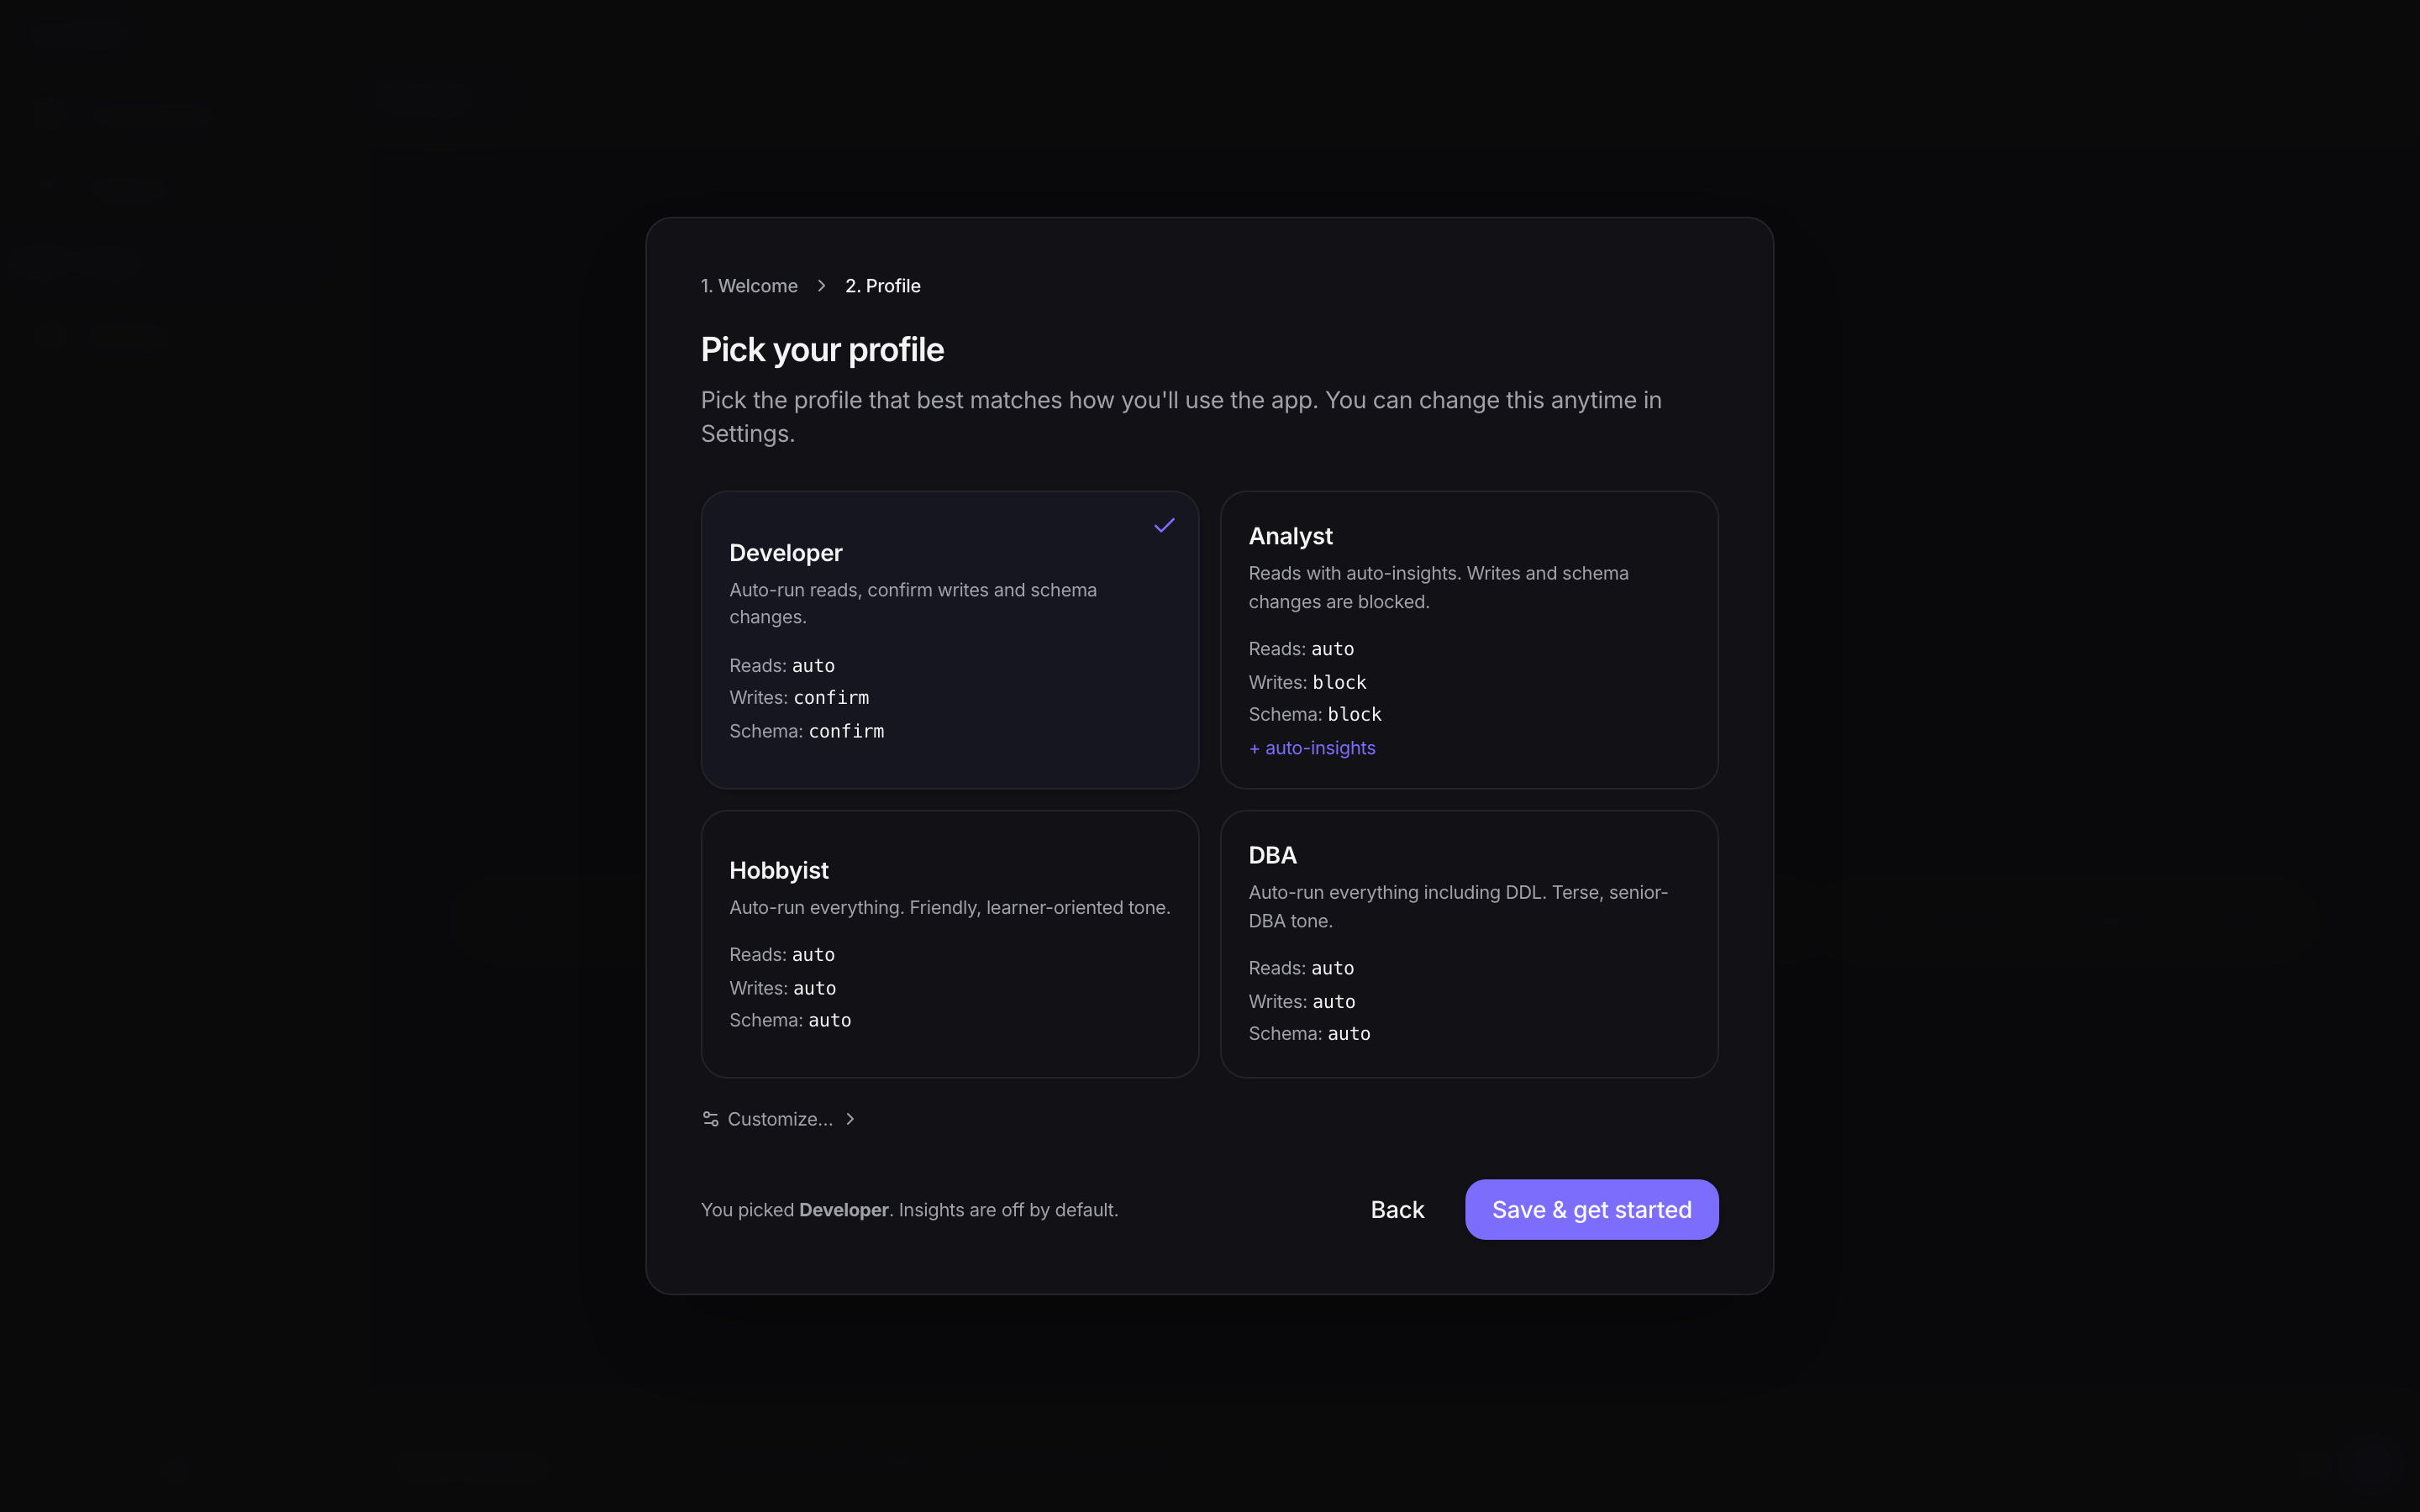
First-run setup from welcome to ready in under a minute
3Connect your AI provider
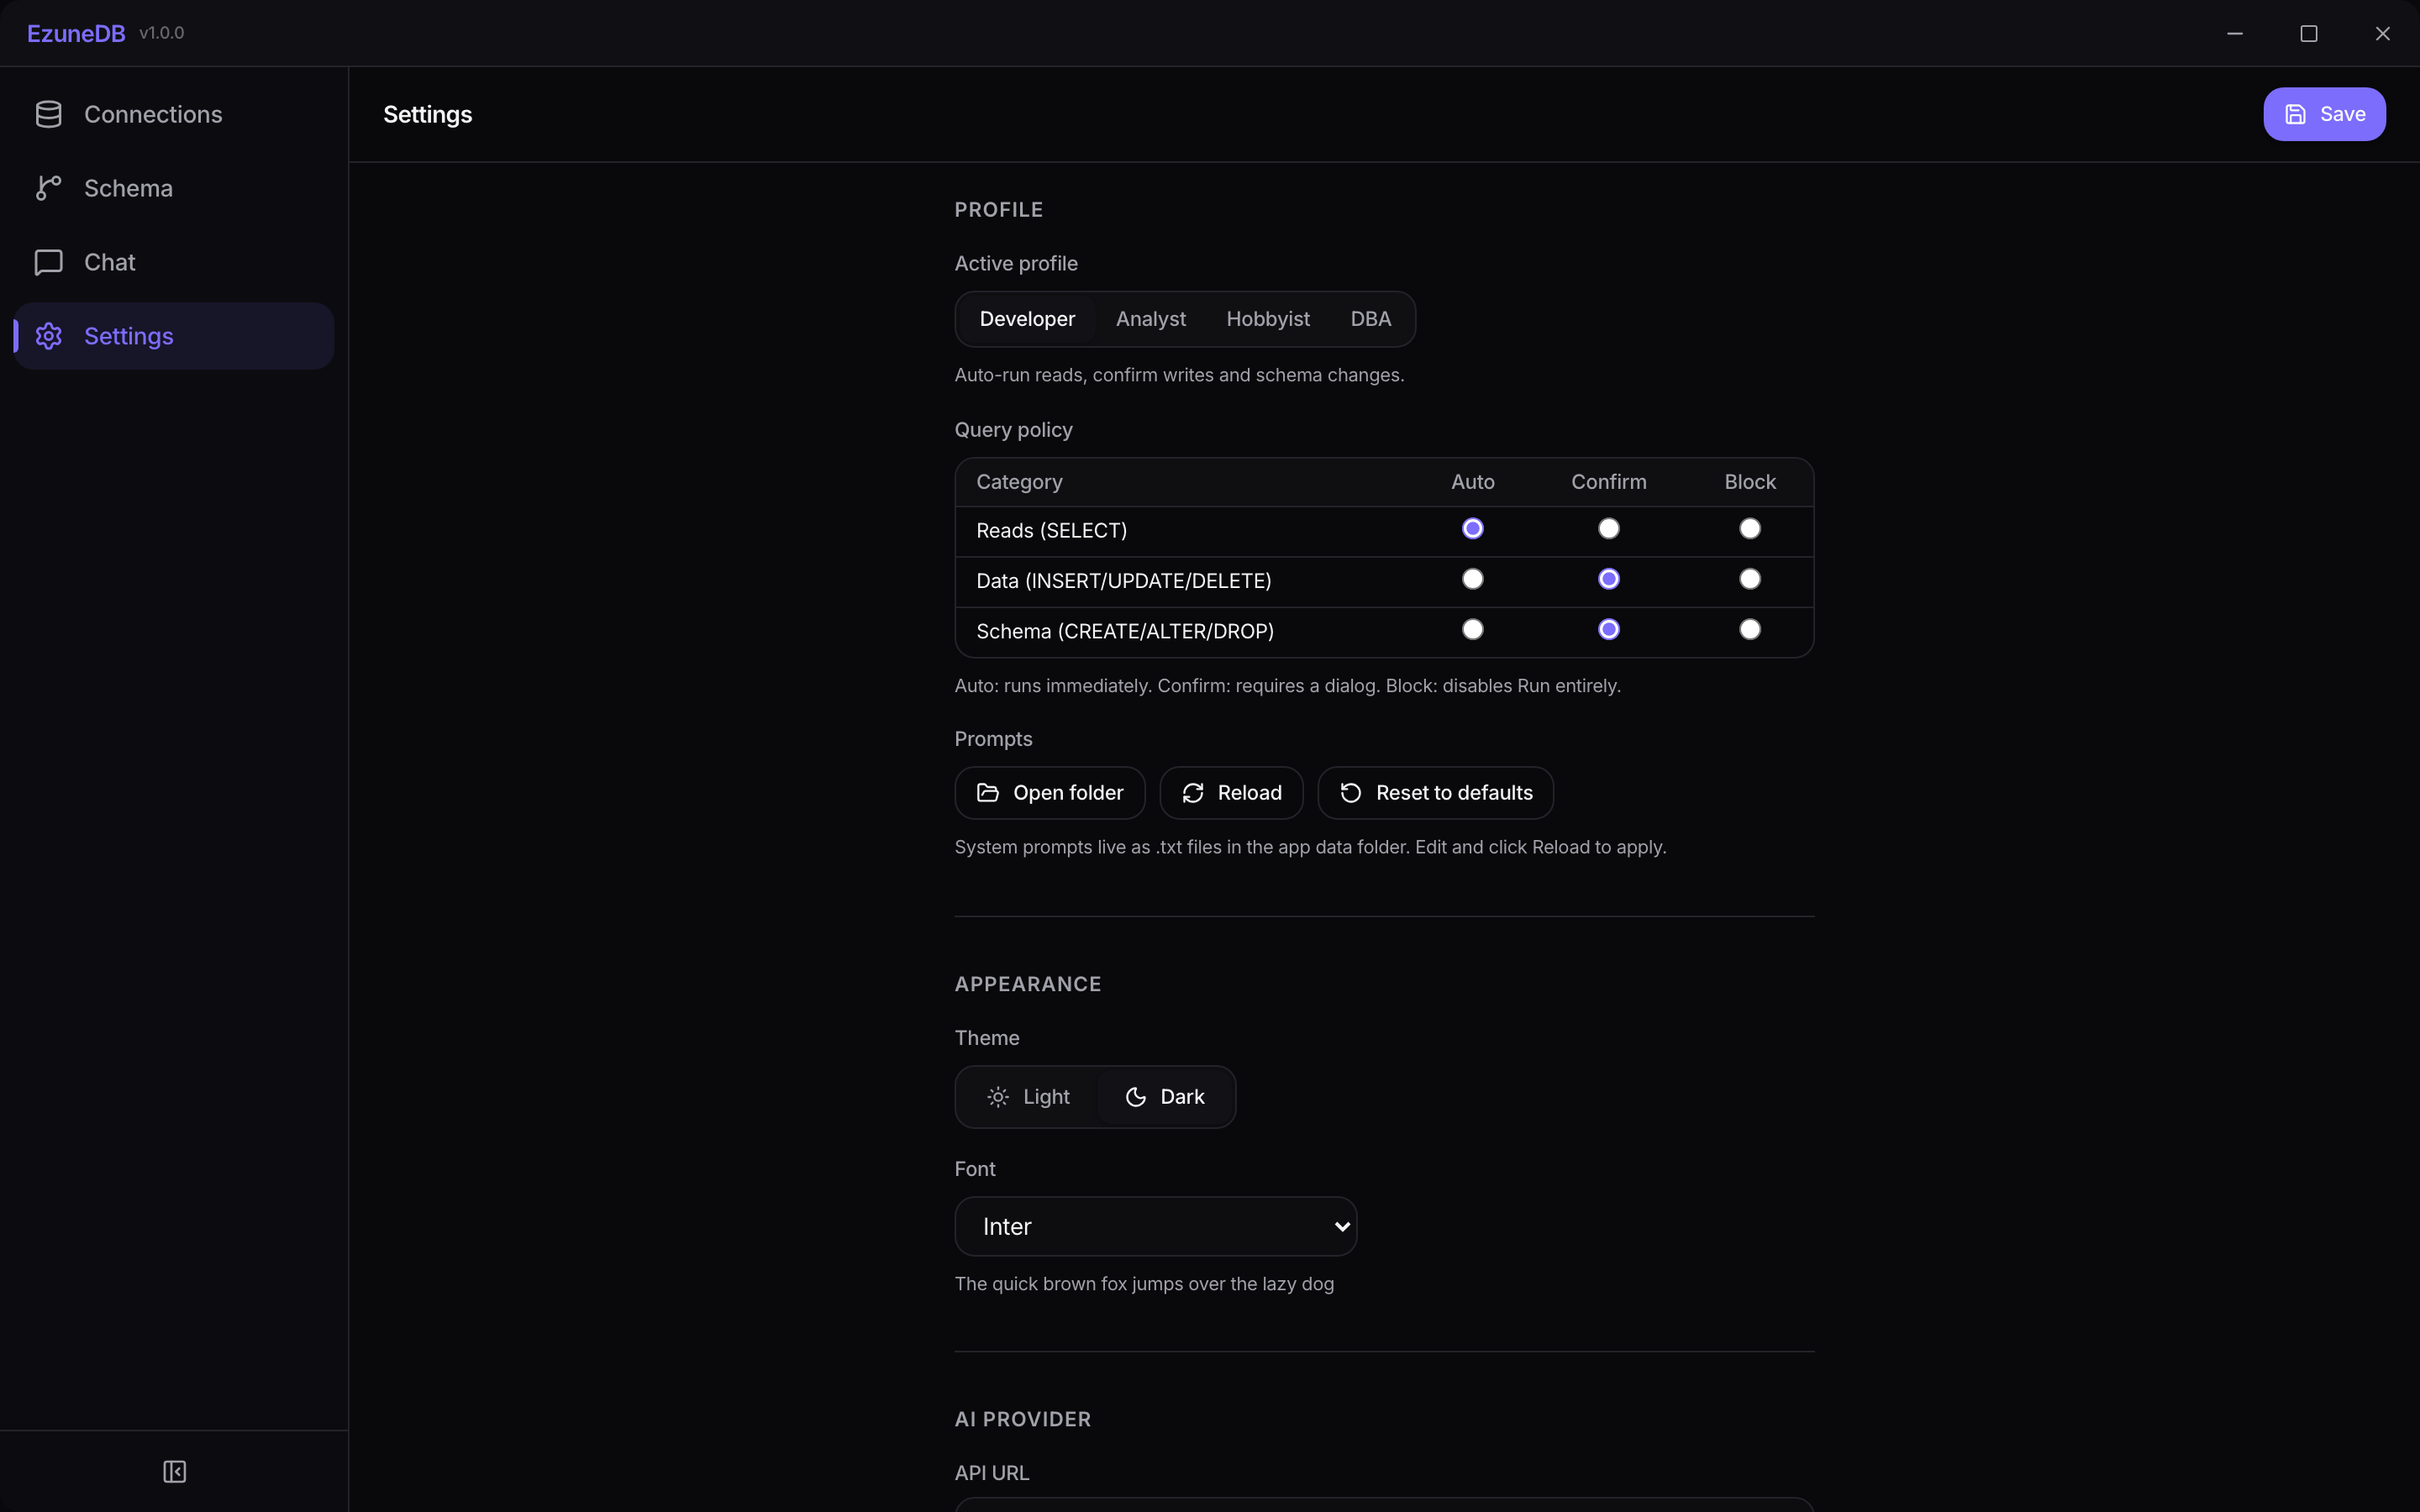
EzuneDB brings your own AI: point it at any OpenAI-compatible endpoint — OpenRouter, a local Ollama, or your company gateway. Open Settings, enter the API URL, key, and model, and save.
💡 Pro Tip
Running Ollama locally? Use http://localhost:11434/v1 as the API URL and everything — data and AI — stays on your machine.
4Your first question
Add a database in Connections, hit the plug icon to connect, then open Chat and ask something like "Show me the top 10 customers by revenue". The AI answers with SQL you can inspect and run.